Why Your Images Have Strange White Lines
Apr 03, 2025
The Frustration of Poor Ultrasound Images
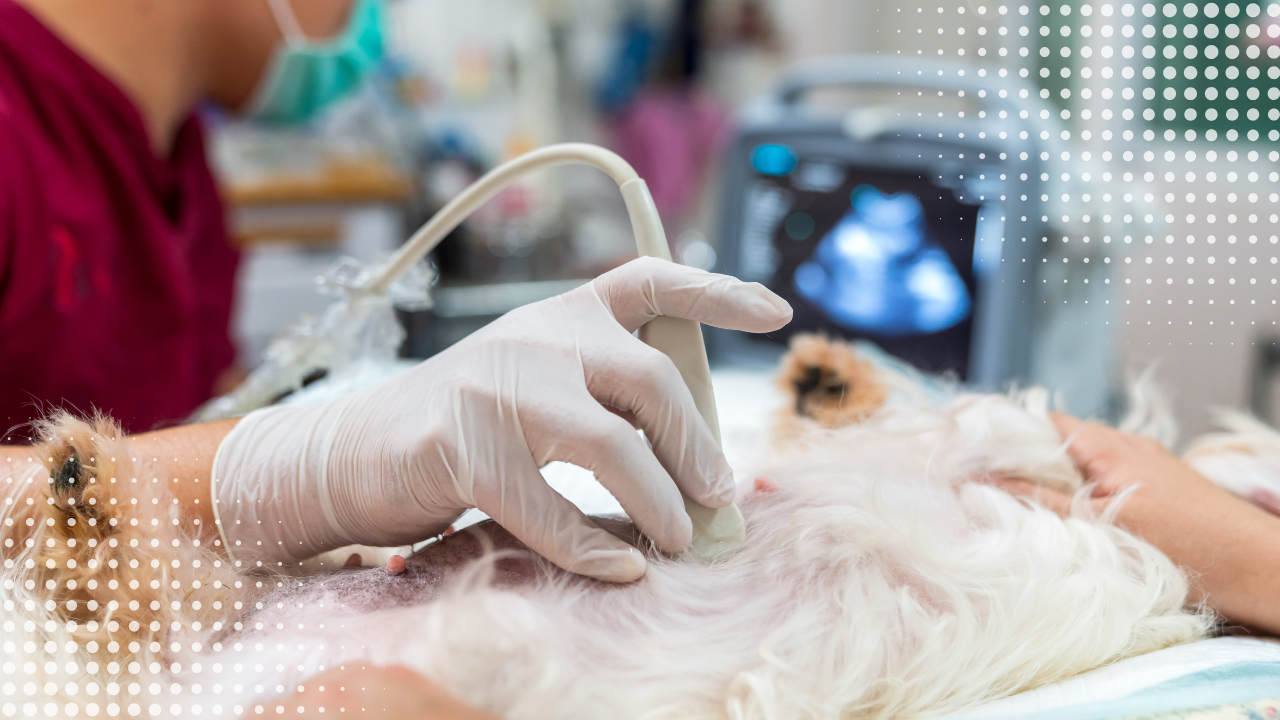
Picture this: the consulting room is quiet except for the soft whirring of your ultrasound machine. Your patient is perfectly positioned, you've applied plenty of gel, and you're focused on finding that suspected splenic mass. Then suddenly—white lines streak across your screen, the image flickers, and what should be clear tissue definition becomes a grainy, uninterpretable mess.
Your heart sinks. The owner is anxiously watching your face for clues, and your confidence begins to waver. Is your technique off today? Has your machine decided to betray you at the worst possible moment?
Before you panic (or resign yourself to referring the case to a specialist), take a breath. The problem might not be what you think.
The Three Most Common External Artefacts Ruining Your Scans
As a peripatetic ultrasonographer who's worked with countless machines in different practice environments, I've seen it all. Most image quality issues caused by external factors fall into three main categories:
- Electrical interference
- Probe issues
- Scanning environment problems
Let's break these down, see what they look like, and—most importantly—learn how to fix them quickly so you can get back to providing great patient care.
1. Electrical Interference: Those Flickering White Lines
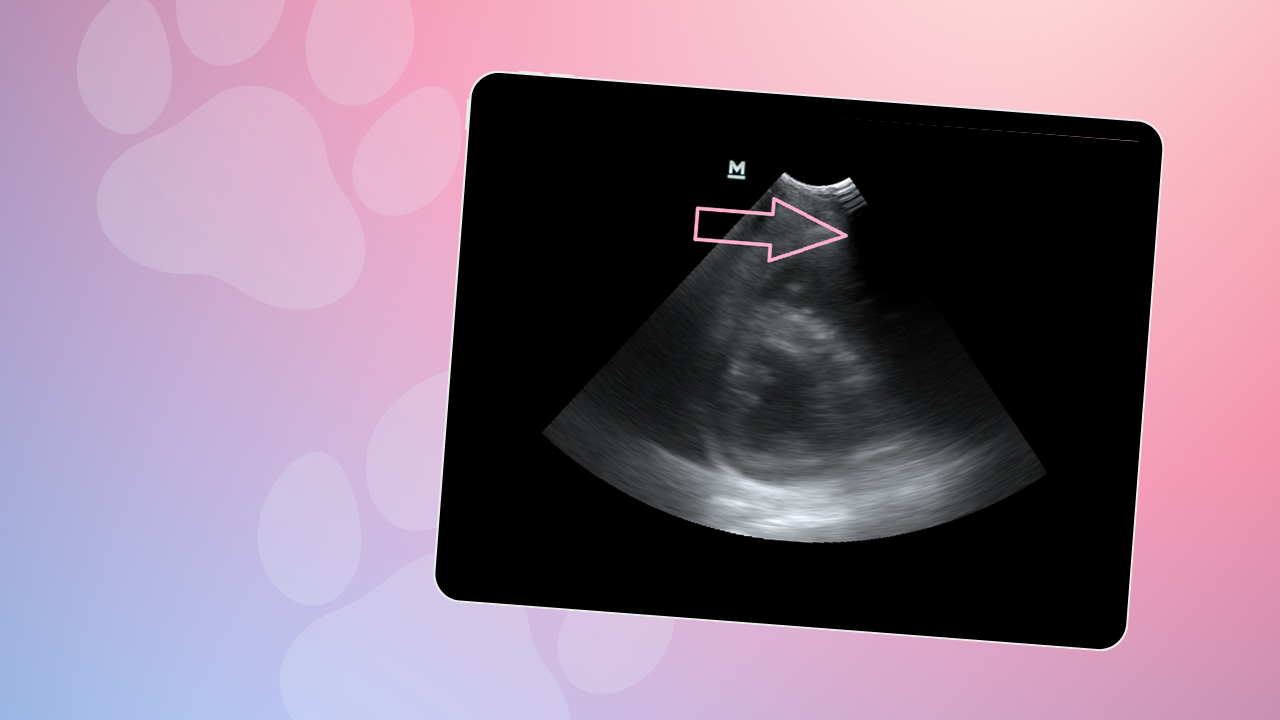
What it looks like:
When electrical interference affects your scan, you'll notice random white lines flickering across your screen, bands of distortion that appear and disappear, and an overall "noisy" image with poor detail resolution. It can make even a simple kidney scan look like abstract art!

Common causes:
The culprits behind electrical interference are all around your practice. Power outlets with voltage issues are often to blame, but so are other electrical equipment nearby—electrocautery units, infusion pumps, and dental machines are frequent offenders. Even the technology we can't see can cause problems: Wi-Fi networks, Bluetooth signals, and those mobile phones that seem to multiply in every consultation room can all interfere with your ultrasound image.
Quick fixes:
If you suspect electrical interference, first try plugging your machine into a different power outlet or running it on battery —you'd be surprised how often this simple change makes those annoying white lines disappear! For long-term protection, consider using a surge protector to stabilise voltage fluctuations.
Another approach is to play detective with nearby equipment. Try switching devices off one by one to identify what's causing the interference. Sometimes the solution is as simple as moving your ultrasound machine to another room temporarily. I've had cases where just asking everyone to put their mobile phones in airplane mode made a dramatic difference in image quality.
2. Probe Issues: When Parts of Your Image Disappear
What it looks like:
Probe problems have a distinctive appearance—you'll notice dropout in parts of the image, appearing as black vertical bands extending from the top to bottom of the screen. You might also experience persistently blurry or fuzzy images that don't improve no matter how much you adjust the settings, or strange streaks and bands that appear in the same location every time you scan.
Common causes:
Your probe is the heart of your ultrasound system, and it's vulnerable to several issues. The piezoelectric crystals inside can crack or get damaged over time—especially if the probe has been dropped (we've all done it!). The rubber footprint can deteriorate, particularly if it's been punctured during guided procedures. Poor contact with the skin is another common issue, often due to trapped air, insufficient gel, or a worn footprint. And those cables connecting your probe to the machine? If they're loose, kinked, or frayed, they can cause significant signal loss.
Quick fixes:
Taking care of your probe is essential for quality imaging. Make it a habit to inspect your probe regularly, looking for cracks in the rubber, missing pieces, or general wear and tear. After each use, clean the probe thoroughly—dried gel left on the footprint is a common cause of poor contact.
When scanning, be generous with your gel application. I always tell vets in my training sessions: "If you think you've used enough gel, use a bit more!" Ensure you have even coverage with no air gaps. A good technique is to apply gel both to the patient and to the probe surface before making contact.
If you suspect a cable issue, gently wiggle the cable while watching the screen. If the image changes or flickers as you move the cable, you've likely found your problem, and it might be time to contact your equipment provider.
Remember: a damaged probe is like listening to music with broken headphones. Some parts will come through, but others will be missing entirely.
3. Scanning Environment Issues: When Fur and Physics Get in the Way
What it looks like:
Environmental issues typically create patchy images with poor detail, excessive shadowing, and inconsistent quality across the scan. You might also notice strange mirror image artefacts below the actual structures you're trying to examine.
Common causes:
As vets, we face unique challenges with our furry patients. Hair traps air—and air is the absolute enemy of ultrasound. Insufficient gel application compounds this problem. And something many vets don't consider: the surface you're scanning on can create reflective artefacts that confuse your interpretation.
Quick fixes:
Preparation is key to overcoming environmental issues. Whenever possible, clip the fur in your scanning area—even a small clipped window can dramatically improve image quality. For particularly dirty animals, take the time to clean and degrease the skin before applying gel, as this helps with gel absorption and contact.
Speaking of gel, be patient and generous with it. Apply a liberal amount and give it a moment to absorb before you start scanning. I find that warming the gel slightly can improve patient comfort and help it spread more evenly, especially in emergency situations where clipping might not be possible.
Pay attention to your scanning surface as well. If you're using a metal table, consider placing a non-reflective pad underneath the patient. This simple change can eliminate those confusing mirror artefacts that make you think the abdomen extends further than it actually does.
And always have a mental image of how deep you should be seeing in different patients—this awareness helps you quickly recognize when something in the image doesn't make anatomical sense.
Putting It All Together: A Simple Troubleshooting Approach
When you encounter strange artefacts on your ultrasound, try this step-by-step approach:
First, consider electrical interference if you see random white lines or bands. Try changing your scanning location or power source, and temporarily turn off nearby equipment.
Next, examine your probe if the artefacts appear in the same place every time. Check for physical damage, ensure proper cleaning, and verify the cable connection is secure.
Finally, assess your scanning environment. Is the patient adequately prepared? Have you used enough gel? Could the scanning surface be creating reflections?
Confidence Comes from Problem-Solving
The ability to quickly identify and fix these common ultrasound artefacts can transform your scanning experience. Instead of feeling frustrated or doubting your skills, you'll know exactly what steps to take to improve your image quality.
Remember that even experienced ultrasonographers encounter these issues regularly—the difference is that they know how to troubleshoot efficiently.
Ready to Master Ultrasound Imaging?
If troubleshooting these common artefacts has sparked your interest in improving your ultrasound skills, I've got just the thing for you.
The Basics Course – Where Most Successful Scanners Start
The Basics is our most popular course for good reason – it gives you the essential foundation that transforms frustrating scanning sessions into confident, efficient diagnostics. With step-by-step guidance and practical techniques, you'll learn how to:
- Optimise machine settings for crystal-clear images
- Develop a systematic scanning approach that never misses key structures
- Identify normal anatomy with confidence
- Recognise common pathologies that you'll see in everyday practice
Hundreds of vets just like you have used this course to overcome the exact challenges we've discussed in this post. It's the perfect starting point, whether you've barely touched a probe or you're looking to refine skills you already have.
For those with specific interests, we also offer Scanning The Emergency Patient, Veterinary Ultrasound: The Trickier Bits, and Basic Echocardiography for the GP Vet courses.
Want ongoing support after your training? Our FOVU Club membership provides monthly case discussions, exclusive resources, and a community of like-minded vets all developing their ultrasound skills together.
Share Your Experiences
Have you encountered strange artefacts that completely threw you off? I'd love to hear about your experiences in the comments below. What was your most challenging ultrasound issue, and how did you solve it?
Happy scanning!
Dr. Camilla Edwards is a peripatetic veterinary ultrasonographer and founder of First Opinion Veterinary Ultrasound (FOVU). With nearly 20 years of experience in general practice and over 10 years in veterinary ultrasound, she's passionate about making ultrasound accessible and practical for everyday veterinary practice.
